How Does a Printer Transfer Toner Onto Paper?
A laser printer transfers toner onto paper by first using a laser to draw an image onto a charged drum. The electrostatic charge attracts the powdered toner to specific areas of the drum. Finally, heat and pressure melt the toner onto the paper to create a permanent image.
This process happens in a split second inside your laser printer. It’s a clever dance of static electricity, heat, and precision. While inkjet printers spray liquid ink, laser printers use this dry powder for sharp text and graphics.
- The printer’s drum gets a uniform electrical charge.
- A laser beam “writes” by discharging spots on the drum.
- The charged drum pulls toner powder onto the discharged areas.
- The paper gets a charge to pull the toner image from the drum.
- Fuser rollers use heat and pressure to melt and bond the toner.
Now, let’s walk through each stage of this process step by step. You’ll see exactly how your printer crafts that crisp page.
Understanding the Laser Printer Toner Transfer Process
This process is a carefully sequenced cycle of charging, writing, developing, transferring, and fusing. Each step prepares the materials for the next. You can think of it like a assembly line for a single, perfect image. Let’s break down the key components first.
The Core Components Inside Your Printer
Before we see the toner move, you should know the main parts involved. Most laser printers have a similar internal layout. The action happens around the OPC drum (Organic Photo-Conductor drum). This drum is a cylindrical part with a special, light-sensitive coating.
Then there’s the laser/scanner unit. This is what actually “writes” your document onto the drum. Finally, you have the toner cartridge. It holds the powdered toner and contains the drum in many modern cartridges. These three parts work in perfect sync.
The Five-Stage Journey from Data to Paper
The journey of your printed page begins with a digital file on your computer. The printer’s brain, its controller, translates that file into a page description language. This data tells the printer exactly which dots to place on the page. Now, the physical process can start.
Step 1: Charging the Drum for a Clean Start
First, the printer gives the OPC drum a uniform electrical charge. A component called the primary corona wire or a charged roller applies a negative electrostatic charge across the entire drum surface. This charge is consistent and strong. It prepares the drum to be “written on” by the laser.
Why a negative charge? It’s part of the magnetic attraction plan. The toner powder is also given a negative charge later. Opposites attract, but like charges repel. This initial charge sets the stage for precise control. It’s like magnetizing a whole metal sheet before you start placing tiny magnets.
How the Drum Gets Its Uniform Charge
You’ll find two common methods for this initial charging. The older method used a thin wire called a corona wire. High voltage passed through it, ionizing the air and creating a charge cloud around the drum. Many modern printers use a charge roller instead.
A charge roller physically contacts the drum and applies the electrical charge. This method is often more consistent and produces less ozone. It’s a cleaner, more direct approach. Regardless of the method, the goal is the same: a drum coated evenly in a negative charge.
Step 2: Writing with Light – The Laser’s Job
This is the most fascinating part. A laser beam, controlled by mirrors and lenses, scans back and forth across the spinning drum. When the laser hits a spot on the drum, it discharges the electrical charge in that specific area. The drum remains negatively charged everywhere except where the laser “writes.”
The areas the laser hits become neutral or slightly positive. Think of the laser as an eraser for the negative charge. The pattern it “erases” is your document—the text, the images. According to printer technical guides, this step happens with incredible speed. The laser can switch on and off thousands of times per second.
The Role of the Polygon Mirror
How does one laser beam cover the whole drum? Inside the laser unit, a spinning polygon mirror deflects the beam. As this multifaceted mirror spins, it sweeps the laser beam horizontally across the drum. The drum rotates vertically at the same time. Together, they create a full raster scan of the page. It’s like a tiny, super-fast light show that draws your page.
Step 3: Developing the Image with Toner
Now the drum has a “latent” electrical image on it. You can’t see it yet. It’s just a pattern of charged and discharged spots. Next, the toner comes into play. Inside the toner cartridge is a developer roller. This roller gets coated with toner powder.
The toner particles are given a negative charge by the developer roller. Here’s the key: the charged toner is repelled by the still-negatively-charged areas of the drum. But it is attracted to the neutral, discharged areas created by the laser. The toner jumps from the roller onto the drum, sticking only to the “written” image. The visible image now appears on the drum.
Why Toner Clings to the Right Spots
It’s all about electrostatic attraction and repulsion. We found this principle is fundamental to electrophotography (the technical term for this process). The negatively charged toner cannot stick to the negatively charged background. It happily clings to the discharged areas. This ensures the toner only forms where your document requires it, creating a sharp, precise copy of the latent image.
Step 4: Transferring the Image to Paper
With the toner image formed on the drum, it’s time to move it. A sheet of paper is fed from the tray and moves past the drum. Just before it reaches the drum, another component—the transfer corona or transfer roller—gives the paper a strong positive electrical charge.
This positive charge is stronger than the drum’s negative charge. As the paper passes underneath the drum, it acts like a magnet. It pulls the negatively charged toner off the drum and onto the paper’s surface. At this moment, the image sits on the paper only as loose powder. A gentle breeze could blow it away.
Precise Timing is Everything
This transfer must be perfectly timed. The paper speed and drum rotation are synchronized. The printer’s sensors ensure the paper arrives at the exact moment the drum’s image is ready. Any misalignment here would result in a smudged or cut-off print. It’s a high-speed ballet of paper and drum.
Step 5: Fusing – Making the Image Permanent
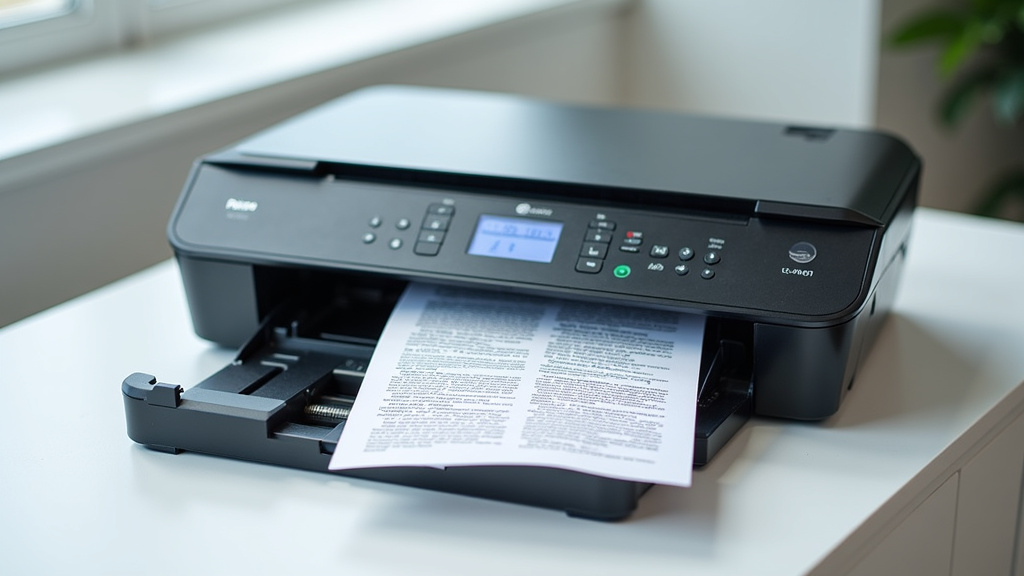
Here is where heat and pressure work their magic. The paper, now carrying the loose toner image, moves into the fuser unit. This unit contains two rollers: a heated roller and a pressure roller. The top roller is heated to a specific temperature, often between 180°C and 210°C.
As the paper passes between these rollers, the heat melts the plastic-based toner powder. The pressure roller then presses the molten toner deep into the paper fibers. This bonds the toner permanently to the page. The result is a dry, smudge-resistant page that can be handled immediately. The waste toner is then collected and the drum is cleaned for the next cycle.
Why Your Pages Come Out Warm
You’ve probably noticed your pages are warm when they exit a laser printer. That’s the direct result of the fusing process. The fuser unit gets very hot to ensure proper melting. This is also why you shouldn’t use paper that’s too thick or glossy unless your printer supports it. Different paper types need different heat levels for the toner to bond correctly.
Laser vs. Inkjet: A Different Approach to Putting an Image on Paper
To appreciate the toner transfer process, it helps to see the alternative. Inkjet printers work on a completely different principle. They spray tiny droplets of liquid ink directly onto the paper surface. There is no intermediate drum or electrostatic charge involved. The ink soaks into or sits on top of the paper and dries quickly.
We found that the choice between these technologies often comes down to your needs. Laser printers, with their toner process, excel at producing sharp text and high-volume prints quickly. Inkjet printers can offer vibrant color photos and work well for occasional use. Neither is universally “better”; they are designed for different tasks.
| Feature | Laser Printer (Toner Process) | Inkjet Printer (Ink Process) |
|---|---|---|
| Key Material | Powdered plastic toner | Liquid ink (dye or pigment) |
| Primary Method | Electrostatic transfer & heat fusing | Direct spray onto paper |
| Best For | Sharp text, high-speed, high-volume | Photos, color graphics, occasional use |
| Print Feel | Toner sits on surface; feels smooth | Ink absorbs into paper; can feel matte |
| Common Issue | Vertical lines if drum is damaged | Clogged printheads if unused |
Checking Your Work: Common Toner Transfer Issues
Sometimes, the process doesn’t go perfectly. You might see faint prints, smudges, or blank pages. Many of these issues relate directly to one of the five stages we covered. A blank page, for example, often means the laser didn’t write to the drum, or the transfer charge failed. Faded prints can indicate a low toner supply or a weak charge on the drum.
Horizontal repeating lines or spots usually point to a problem with the drum itself. It may be scratched or worn out. Vertical lines often indicate a dirty or damaged fuser roller. Understanding the process helps you diagnose the problem. You can tell your technician exactly where the chain broke.
A Quick Troubleshooting Checklist
When your laser printer output looks wrong, work through these possibilities. We found these are the most common culprits. Start with the simplest fixes first.
- Check Toner Levels: Is the cartridge simply low or empty?
- Run a Cleaning Cycle: Use the printer’s built-in utility to clean internal components.
- Reseat the Cartridge: Remove and firmly reinstall the toner/drum unit.
- Inspect the Drum: Look for scratches, nicks, or visible damage on the OPC drum surface.
- Check Paper Type: Ensure you’re using paper rated for your printer’s fuser temperature.
Why Toner Transfer Matters for Your Documents
Understanding this process isn’t just technical trivia. It helps you make smarter decisions. You’ll know why laser printers are preferred for printing contracts or text-heavy reports. The heat-fused toner creates a durable, water-resistant mark. That’s important for documents that need to last.
You’ll also understand maintenance better. When you hear the “replace drum” message, you’ll know what that part actually does. This knowledge empowers you as a user. You can choose the right supplies and troubleshoot with confidence. It turns a mysterious black box into a understandable tool.
Looking Ahead: The Evolution of Toner
The basic process we’ve described has been refined for decades. Modern toner particles are now chemically created. They are smaller, more uniform spheres rather than ground-up powder. This allows for even sharper images and more efficient fusing at lower temperatures. We found that manufacturers are constantly working to reduce energy use. The core principle, however, remains the brilliant interplay of static electricity and heat. It’s a system that proves sometimes the best solutions are a mix of physics and engineering.
Conclusion
You now understand the clever science inside your laser printer. It’s a precise, five-step dance of static electricity, laser light, and heat. The OPC drum gets charged, the laser “writes” the image, toner clings to the right spots, the paper pulls it away, and finally, the fuser makes it permanent. This entire process happens in a flash, creating durable prints that resist smudges and water.
Knowing how this works helps you troubleshoot issues like faint prints or vertical lines. It also explains why laser printers are so reliable for text-heavy documents. Your next step is simple: when you next replace a toner cartridge, you’ll appreciate the engineering inside. For the best results, always use high-quality toner that matches your printer’s specifications.
Frequently Asked Questions
Why doesn’t the toner powder just fall off the paper?
The fuser unit is the key. It applies very high heat and pressure, melting the plastic toner particles. This bonds them permanently into the paper fibers, making the print smudge-resistant and durable right away.
Is printer toner the same as ink?
No, they are completely different. Toner is a dry, powdered plastic that is fused onto paper with heat. Ink is a liquid that soaks into or sits on top of the paper and dries through evaporation or absorption.
What does it mean when my printer says to “replace the drum”?
The drum is the OPC drum, a core component that holds the electrical image. It has a limited life and wears out over time. Replacing it ensures you get sharp, consistent prints without repeating lines or smudges.
Why are my laser prints coming out faded?
Faded prints usually mean the toner transfer stage is failing. This could be due to a low toner cartridge, a weak electrical charge on the drum, or a problem with the transfer roller. Start by checking your toner level.
Can I use any paper in a laser printer?
You should use paper rated for laser printers. The fuser gets extremely hot, so paper that is too thick or has certain coatings may not bond correctly or could even damage the fuser rollers over time.